Rear-view mirror foot
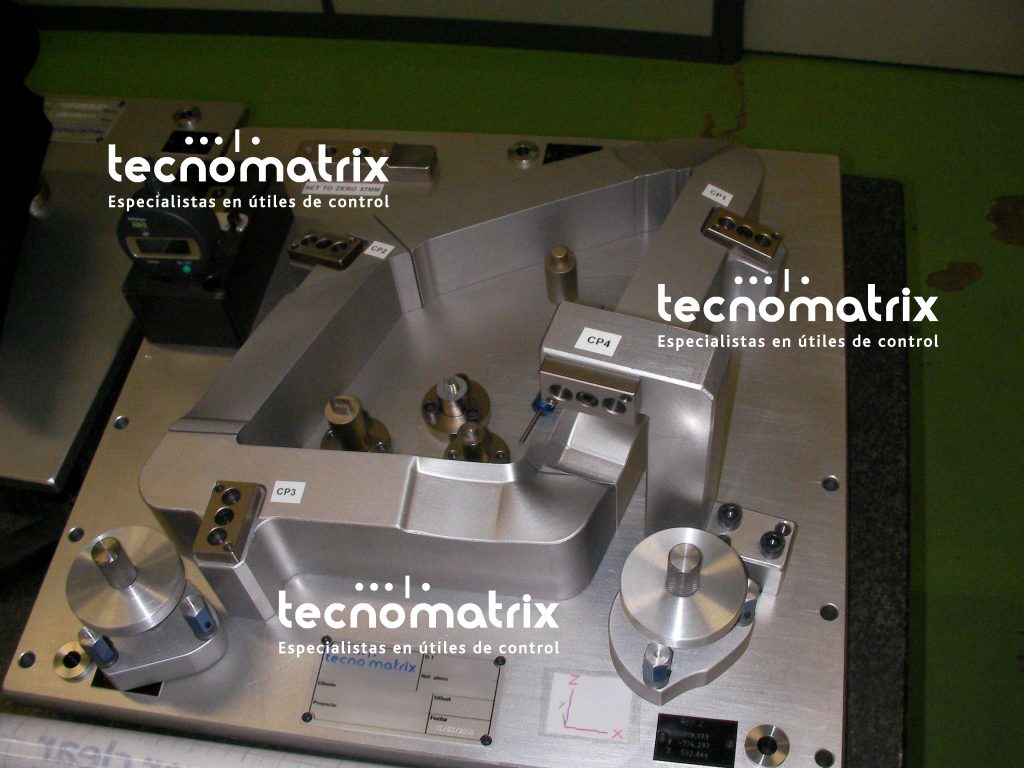
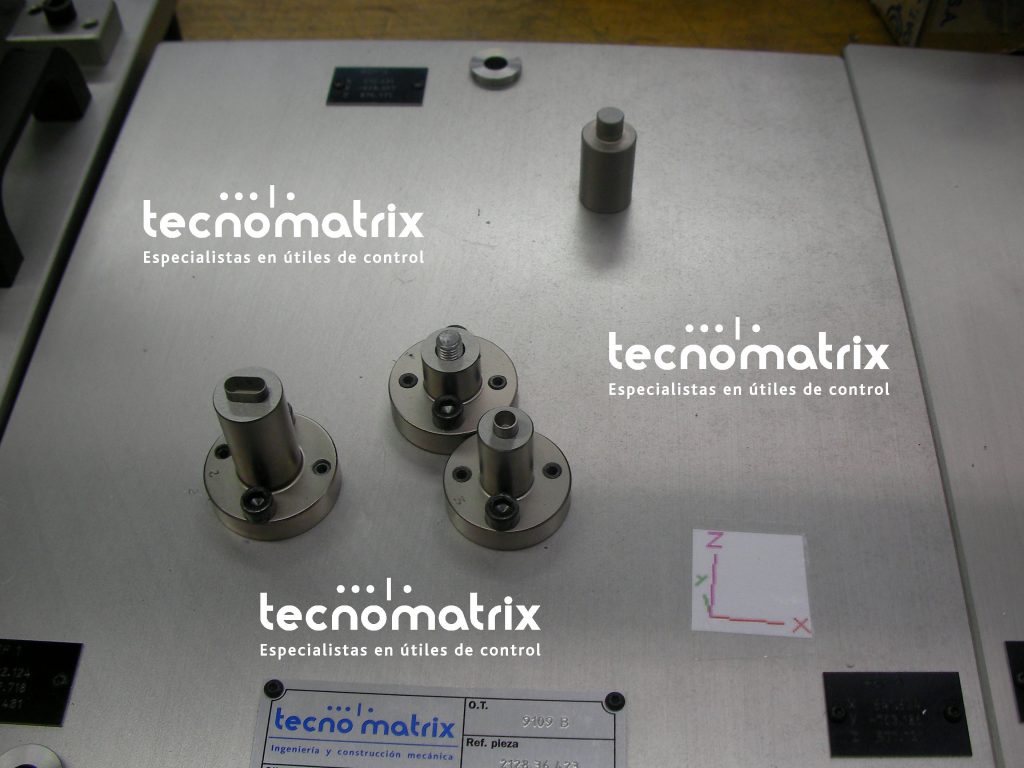
The problems that may occurr when producing mirror feet are variable, depending on the material used and of the shape of the part: deformation of the part surface, unproper location of its fixation points, etc. To make sure that all the potential deformations of the part will be detected, we recommend to use a fixture simulating as much as possible the vehicle conditions of fitting of the part, as much for its fixation points as for its vehicle environment. A CMM version of this fixture may, however, be helpful for the measurement by CMM machine of the first injected parts of your series.
Our checking fixtures are produced in aluminium, the components submitted to wear-and-tear are produced in steel. Tolerances for RPS (fixation points) and dial indicator points: ±0.05mm. Tolerances for simulation blocks: ±0.1mm.
Minimum documentation: dimensional report of your checking fixture, 2D assembly drawing, assembly CAD. Optional documentation: R&R report, user manual, stabilization certificate.
Checking fixture for triangle-shaped mirror foot

CMM fixture

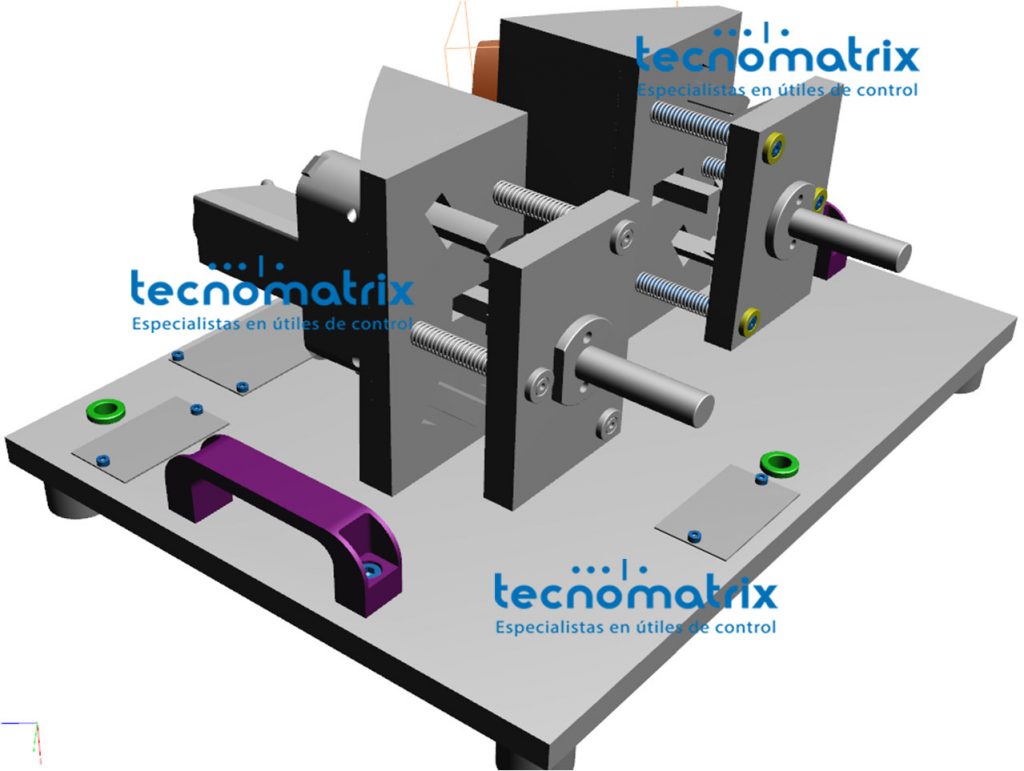
Checking fixture for cone-shaped mirror foot

