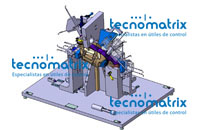
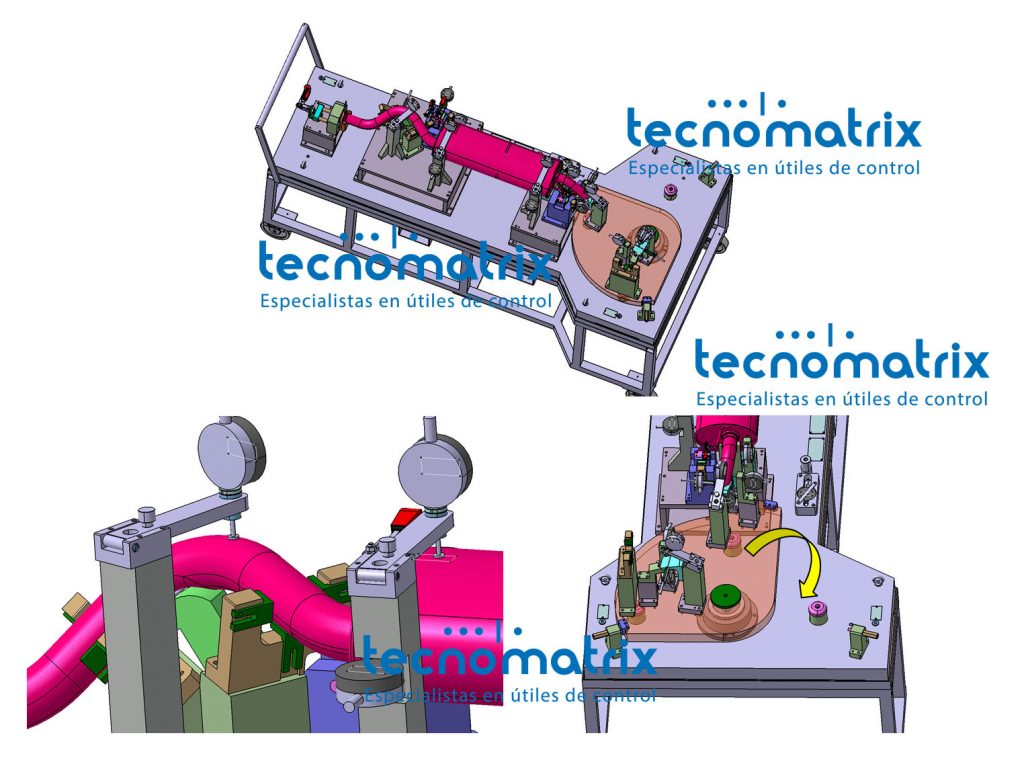
Catalytic converter
As for any part composed of welded components, it is important to control the position of all the holes and components forming the catalytic converter. We can propose you a wide range of solutions, from checking fixtures with simple Go/No Go controls, to automated checking fixtures connected to a data acquisition system and enabling to measure 100% of the production.
Our checking fixtures are produced in aluminium, the components submitted to wear-and-tear are produced in steel. Tolerances for RPS (fixation points) and dial indicator points: ±0.05mm. Tolerances for simulation blocks: ±0.1mm.
Minimum documentation: dimensional report of your checking fixture, 2D assembly drawing, assembly CAD. Optional documentation: R&R report, user manual, stabilization certificate.
In the case of a control of 100% of the production of catalytic converters, the measurement cycle time is crucial to make sure that each part will be controlled quick enough before the end of the production of the next one. For such cases, opting for an automated solution is essential: apart from the example shown in this product sheet, we can also propose you a wide range of solution with CAPTOR line of products: CAPTOR-S, CAPTOR-C or CAPTOR-R. Contact us for an assessment of the best solution for your needs.
Automated checking fixture for catalytic converter

Dial indicator and Go/No Go checking fixture for catalytic converter

