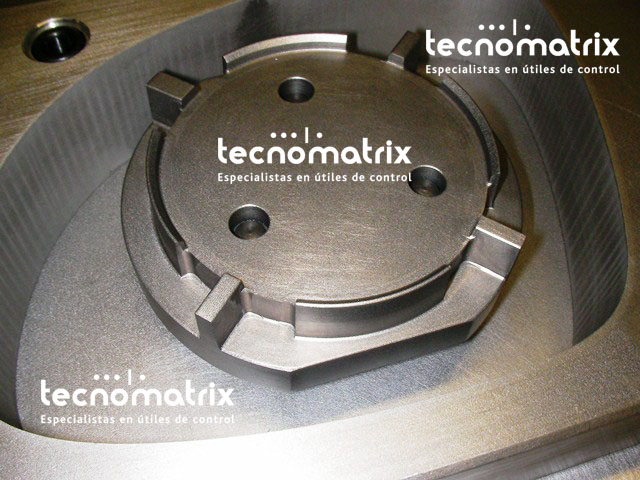
Rear-view mirror backplate
If the left and right backplates have the same centring area, the same checking fixture can be used to check the left and right parts by simply turning over the control block. The centring area is mounted on a spring guided system. To check the part, the user simply centres it and pushes it down: if the part fits inside the control block, it is OK.
Our checking fixtures are produced in aluminium, the components submitted to wear-and-tear are produced in steel. Tolerances for RPS (fixation points) and dial indicator points: ±0.05mm. Tolerances for simulation blocks: ±0.1mm.
Minimum documentation: dimensional report of your checking fixture, 2D assembly drawing, assembly CAD. Optional documentation: R&R report, user manual, stabilization certificate.

