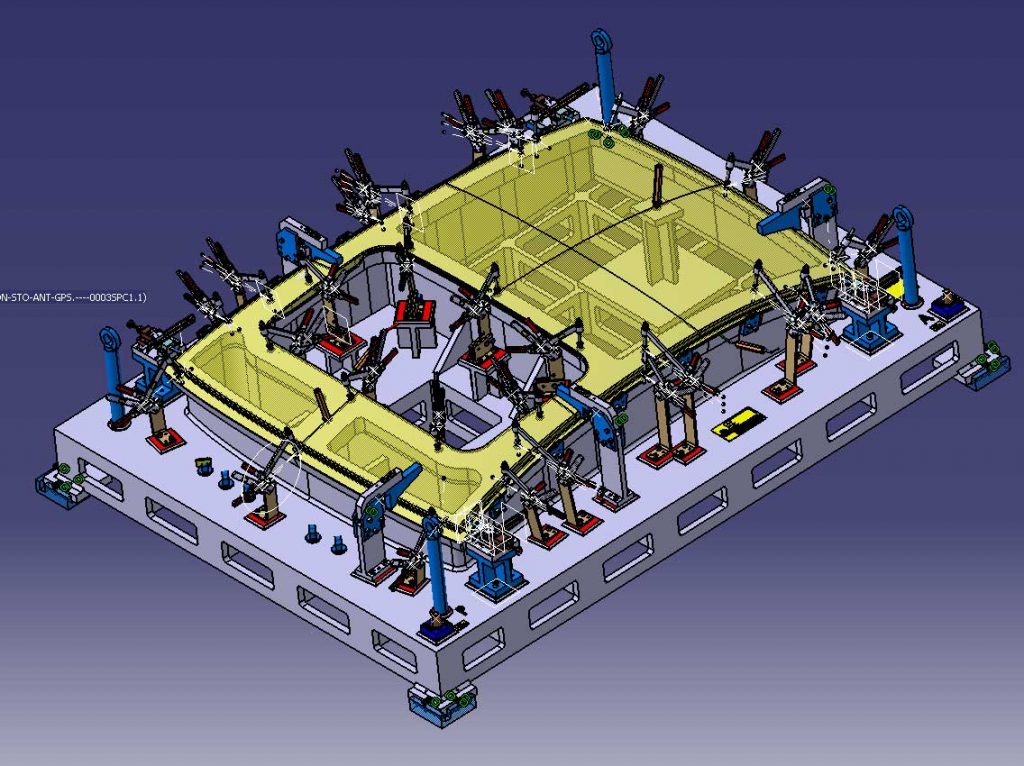
Roof
Several options of control – varying in terms of complexity, control method and budget – are available to control the largest parts of the car: as much checking fixtures with Go/No Go controls and/or dial indicator control points as solutions of control by artificial vision, like CAPTOR-R. The checking fixture presented in the example above could have been completed by control points by dial indicator, in order to provide a complete check of the part while getting measurement values for SPC studies.
Our checking fixtures are produced in aluminium, the components submitted to wear-and-tear are produced in steel. Tolerances for RPS (fixation points) and dial indicator points: ±0.05mm. Tolerances for simulation blocks: ±0.1mm.
Minimum documentation: dimensional report of your checking fixture, 2D assembly drawing, assembly CAD. Optional documentation: R&R report, user manual, stabilization certificate.
To get specific measurement values on such fixtures, several options are available:
- if the fixture is equipped with control points by dial indicator, the measurement process can be automated by using CAPTOR-S and CAPTOR-C systems.
- if looking for a solution quicker than a measurement by CMM machine but providing more information than a 1D measurement, CAPTOR-R can be an interesting alternative enabling to check a wide range of characteristics of the part: its shape and dimensions, the location of its holes, etc.
Go/No Go checking fixture

