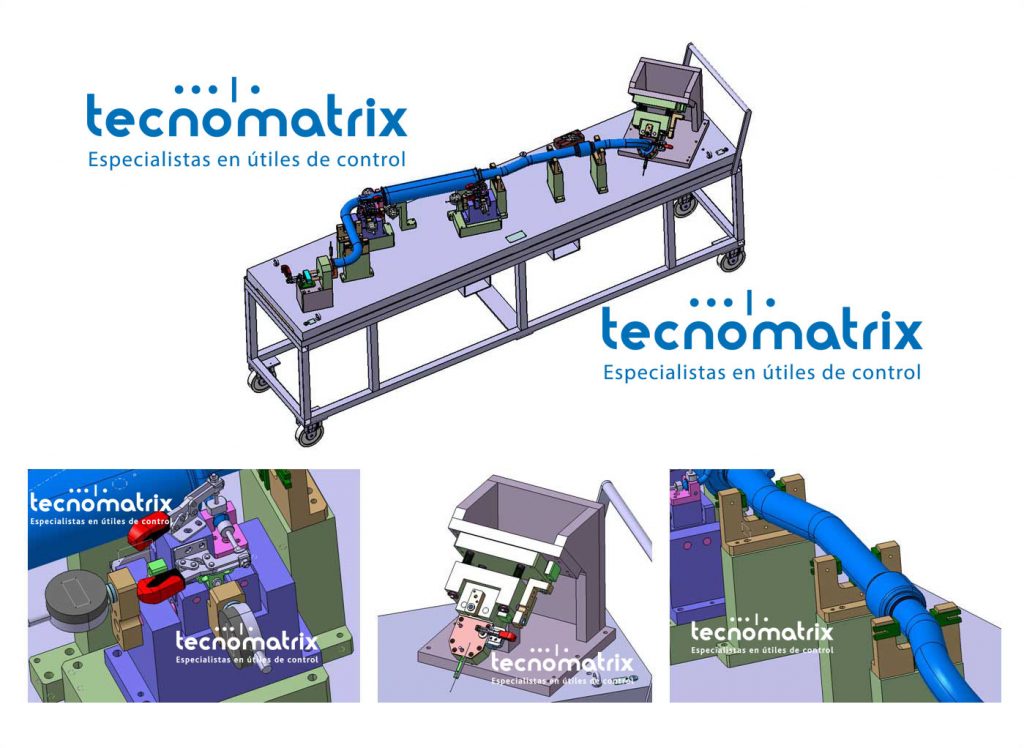
Exhaust line
As any part made of welded and bent components, it is essential to control the following features on exhaust line assemblies: position of the components welded to the main structure, location of holes, deformation of critical areas and position of bent sections. All these controls can be done either by Go/No Go or by dial indicator.
Our checking fixtures are produced in aluminium, the components submitted to wear-and-tear are produced in steel. Tolerances for RPS (fixation points) and dial indicator points: ±0.05mm. Tolerances for simulation blocks: ±0.1mm.
Minimum documentation: dimensional report of your checking fixture, 2D assembly drawing, assembly CAD. Optional documentation: R&R report, user manual, stabilization certificate.
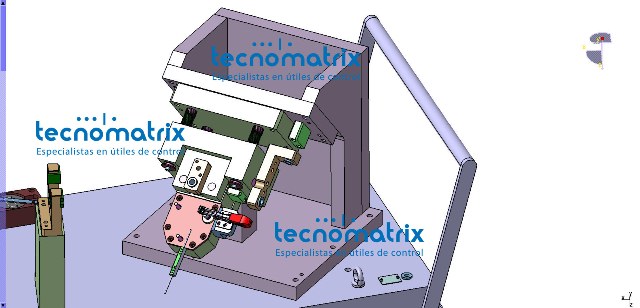
To ensure traceability, the checking fixtures for exhaust lines usually have a high number of control points by dial indicator. Consequently, reducing the cycle time and the risk of human errors during the measurement process will be important to guarantee a good repay of the fixture, and ensure the quality of the measurements. In the example of the checking fixture for exhaust line assembly shown in this product sheet, the customer opted for using a CAPTOR-S kit for his measurements, as he could use it on other fixtures available in his workshop. Yet, for a complete prevention of errors during the measurement process, CAPTOR-C would be the ideal solution.
Checking fixture for exhaust line assembly

Checking fixture for exhaust line front muffler

Checking fixture for exhaust line rear muffler

